
Once we got back from our Florida vacation, I was ready for the next update to make to our home and couldn't wait to start.
Well....that part about not being able to wait to start the next project isn't exactly true...
Actually, we've been back for a couple of weeks now and I've only done one quick project. So it wasn't necessarily "full speed ahead" once we got back home, thankfully. I'm slowing things down a bit.
However, there is another project in the works- painting our kid's play space. There are still a couple rooms in our home that haven't been painted yet, and the playroom is one of those areas.
And there's a good reason for that.
It's a fairly big room with high ceilings, so painting this space wasn't top priority and seemed a bit daunting.
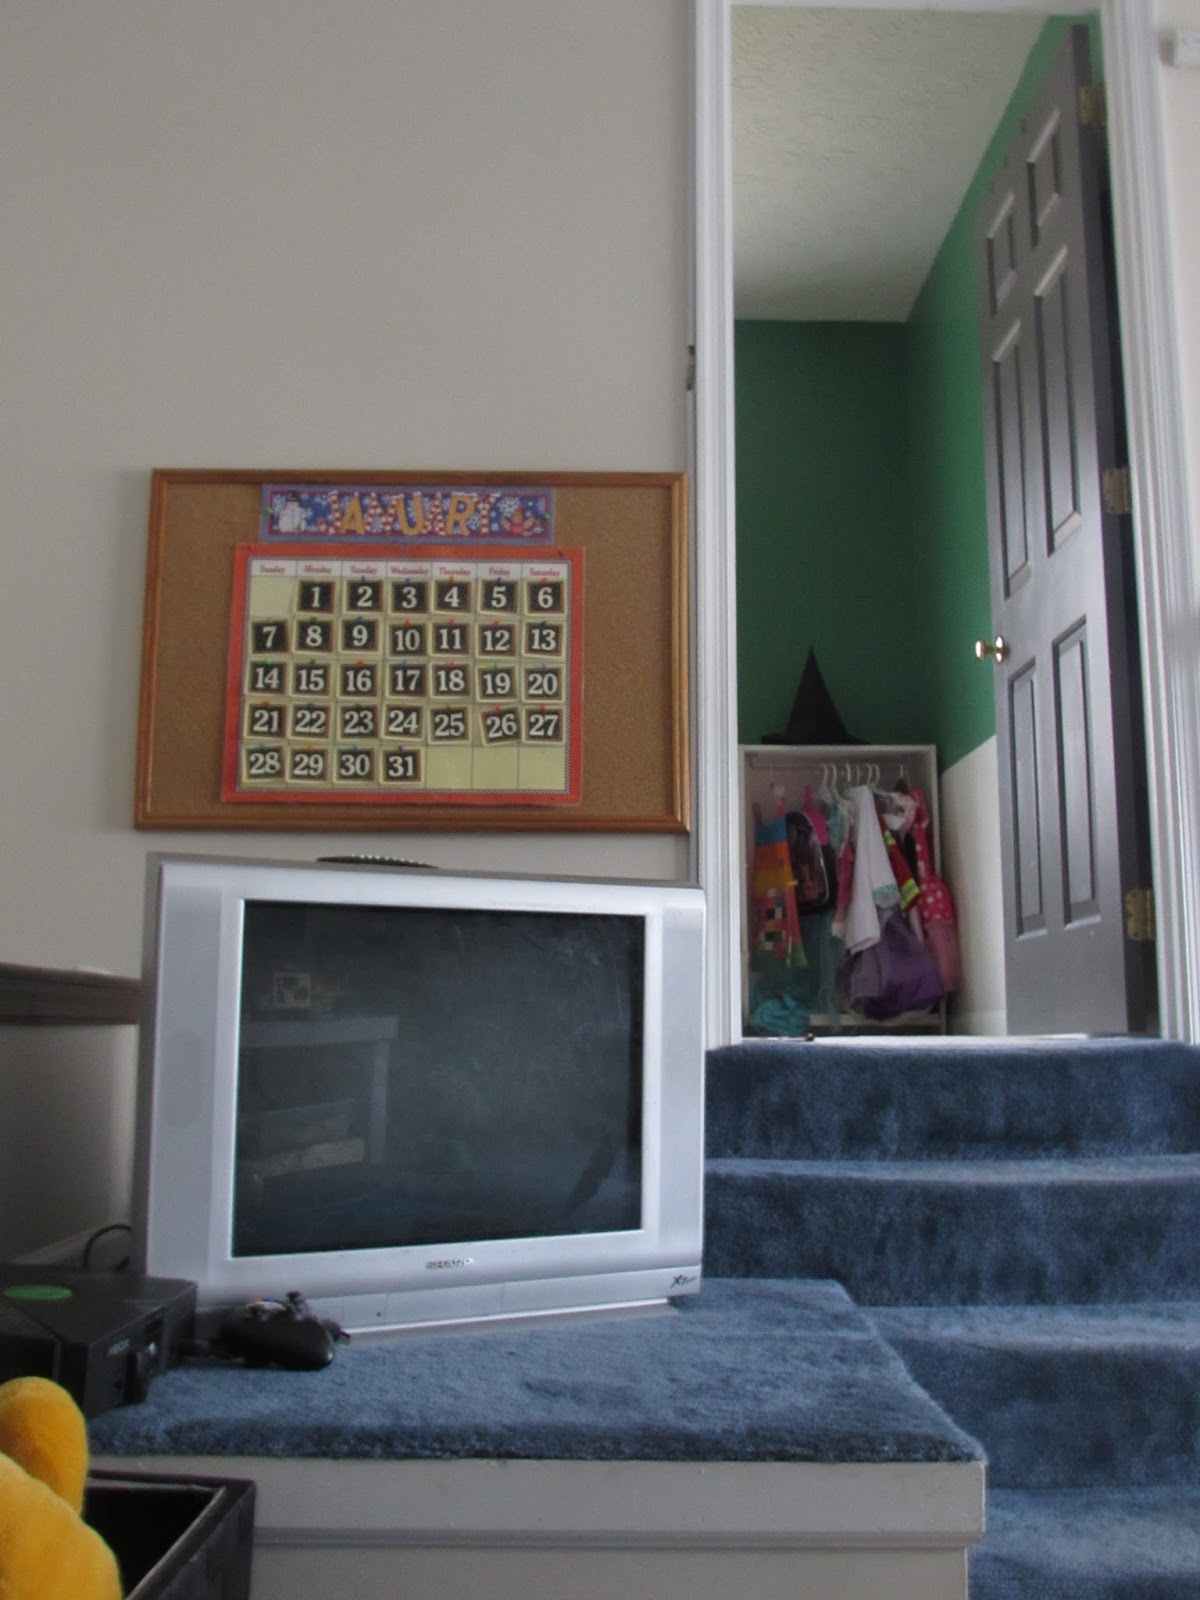
Since we've lived in our home for a little over 3 years now, I figured it was time to update the space. The challenge was not only the size of this room, but the outdated, old blue carpet. The carpet in this space is about 25 years old and as you can imagine, is not in the best shape (Yikes! I know, right). Unfortunately, we aren't replacing it anytime soon because of cost and time, so the new paint color will have to compliment (well, at least somewhat compliment) the floor. I've got my work cut out for me a bit with this one.
Before I ramble on about paint swatches and the like, I did want to share a quick and easy Lego table/area I made for our kids recently that you can make at home too.

The materials used were two 4 foot long MDF boards from Lowe's. Each board was about $3.50/piece and I needed exactly 8 feet for this area. Super happy I didn't have to cut any boards (or at least ask hubby to do that part) ;)
We already had the L-brackets, screws, and anchors making this project well under $10 total.
The plastic 4-drawer container in the middle holds building tiles and wood blocks for building and also serves as a good divide between the boards while keeping things steady. We also already had that container, but they can be found at many big stores for pretty cheap.
I'd also recommend putting some kind of tall storage container somewhere in the middle to help separate the table a little bit and add more support.

I purchased a bookshelf for $17 at Wal-Mart that holds all of our kid's Lego, but you can use pretty much any kind of storage container to hold all those Lego.

In the photo above, you can see some of the wallpaper left from the previous owners. That covers the whole room (but thankfully only as a border near the ceiling). But, we won't focus on that...just the cutie building some fun creations!

This girl loves to build things!
So focused. :)

Lego building/play has become a bigger deal in our household now that our girls are 6 and almost 5. Our youngest isn't into it too much.....yet.
With that said, we do spend quite a bit of time here, especially during the winter months. I'm super thankful for this space and our kids are too, so it seems only fair to update it beginning with the wall color.
I mentioned that we aren't changing out the blue carpet anytime soon, so I'm trying to work with what we have. Plus, I painted the hallway, (or the kid's "cafe") a bold but beautiful dark green (BM's Bunker Hill Green). I want each room to flow well together, so I had to think about that with the paint samples.
Speaking of helping each room feel connected...if you want to see how this dark moody green looks on a door, check out this post here. I used it in our son's room as well. Love that color!
I started with 3 paint samples:
Top left: SW Aloof Gray
Middle: BM Gray Cashmere
Bottom right: SW Comfort Gray
Each paint sample was purchased at Lowe's and I've found that they do a good job matching paint colors.


This girl and her Doc McStuffins :)
Here are some more paint swatches I put up around the room (same ones as listed above).


To be completely honest, none of the colors jumped out to me as being "the one." I thought Aloof Gray had purple undertones, Gray Cashmere showed up more like a baby blue, and Comfort Gray was too dark.
Thankfully, samples are pretty cheap! So it's back to the drawing board.
However, I do want to say that the samples did help steer me in the right direction of what color family to go with- GREEN.
So I'll be searching for a green(ish), possibly minty, paint color for this room. I'm hoping to get my girls to help me with that part. After all, this is their space. ;)
No comments :
Post a Comment
I always love to hear from my readers! Thanks for taking the time to post an encouraging & uplifting comment.